powerfinish powerpoint templates
[Home]

PRODUCTS

[Templates]
[Video Backgrounds]
[High Definition Video]
[Backgrounds]
[Worship Themes and Videos]
[See What's New]
[Special Offers]
[Ultimate Presentation Kit]
[Worship Presentation Kit]
[Pricing]

THE DETAILS

[Affiliate Program]
[Join Our Community]
[The License]
[How to Contact Us]
[Our Guarantee]
[Our Customers]
[Reviews]
[Your Privacy]
[Site Security]
[Site Map]

PRESENTER RESOURCES

[FAQs and Support]
[Worship Presentations]
[PowerPoint for Teachers]
[Free Samples]
[Free Christian Graphics]
[Presentation Fact Finder]
[Traveling Presenters]
[How to Choose a Template]
[Choosing a Template Color]
[Keyboard Shortcuts]
[What is a Template?]
[What is a Background?]
[What is Animation?]
Mac and Windows PowerPoint templatesPowerPoint templates just for MAC
high definition presentations

Fill Autoshapes with Photos or Backgrounds with in PowerPoint

PowerPoint has built in drawing tools that offer many ways to customize your presentation quickly. This tutorial series deals with using custom shapes with background fills.  It’s an easy way to make your slides stand out from the crowd!

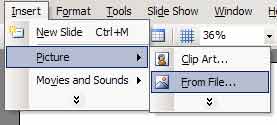
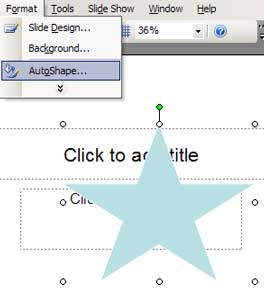
Use autoshapes and fill them with background designs or photos.  Just insert the background or photo using Insert/Picture. 
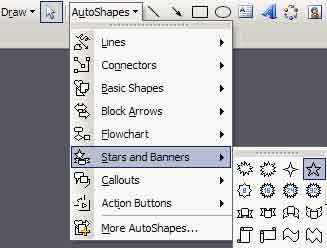
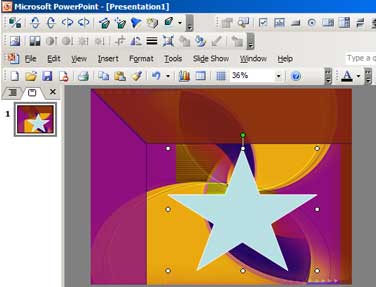
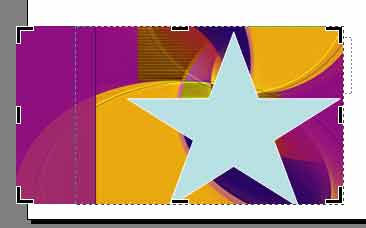
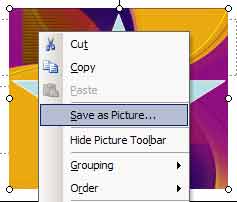
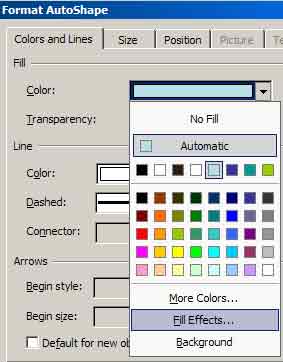
Draw the autoshape you want to use.  Crop the picture to the size of the shape.  Save the cropped picture. Use Format/Autoshape/Fill Effects to select the picture and it will fill your shape.  You can select to have the picture rotate with the shape if you wish.

Learn to create background overlays in our tutorial on using PowerPoint Drawing Tools.

We suggest that you select the effects you add to a presentation conservatively.  A professional look is just as often the result of editing, not adding.


1

Select the shape and the background or photo you want to combine. Insert the image file and draw the autoshape. You’ll have both on the screen, make sure the autoshape is on top.


2

Select the picture.  Then choose the crop tool from the Picture Tool Bar.  Draw the tool over the picture and then drag the handles to the size you need.  Just big enough to fill the autoshape you chose.

Note If the Picture toolbar is not visible, click Toolbars on the View menu, and then click Picture.


3

Right click on the picture and choose “Save as Picture”.  When you have finished saving, just delete the picture from the slide.
If you are using PowerPoint 2007, you can just choose cut and the image will be in your clipboard for the next steps.


4

Now you are ready to format the Autoshape. Choose Format/AutoShape/Colors and Lines. Using the drop down menu, choose Fill Effects.  The Picture Tab will allow you to navigate to the saved cropped picture.  (If you are using PowerPoint 2007, you can select use clipboard).


5

Your autoshape will now be filled with the background or photo you selected. When you apply the selection, you can choose to have the picture rotate with the shape if you wish.

Website and all content are Copyright, 2000-2011 © Studio F Productions, Inc. All rights reserved.

Microsoft and PowerPoint are either registered trademarks or trademarks of Microsoft Corp.
[Home] [Templates] [On Sale Now!] [Backgrounds] [News]
[Video Backgrounds] [Worship Themes] [High Definition PowerPoint_templates] [Special Offers] [Join Our Community]
[Pricing] [The License] [ Our Guarantee] [Reviews] [Contact Us] [Site Map]
[Free Samples] [Your Privacy] [Site Security] [Template Info] [Background Info] [DesignSet Info]
[How to Choose a Template] [Choosing a Template Color] [Keyboard Shortcuts]
[PowerPoint in the Classroom] [Presentation Fact Finder] [Traveling Presenters]

Studio F Productions, Inc.     Sarasota, FL 34242      941-346-9309